
Get a flawless finish with this Boise interior painting checklist. Trust Scotty’s Painting LLC for expert prep, paint & results. Contact us today!
Finding reliable painters in Boise, Idaho , can feel overwhelming, especially when your home’s appearance and value are at stake. A poor paint job doesn’t just look bad; it can peel, fade, and cost you more money in the long run. The good news? With the right approach, you can confidently choose professional painters who deliver high-quality, long-lasting results. Let’s break down exactly how to make the right choice.
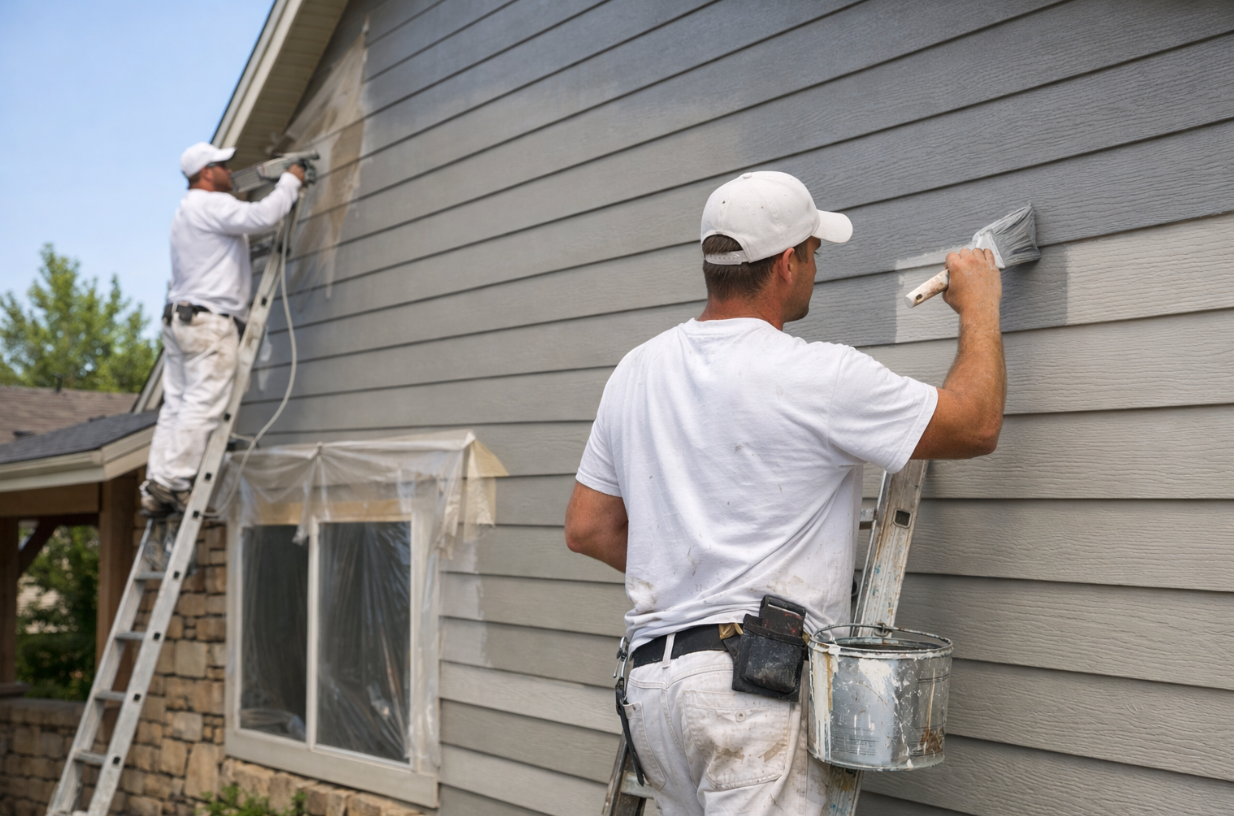
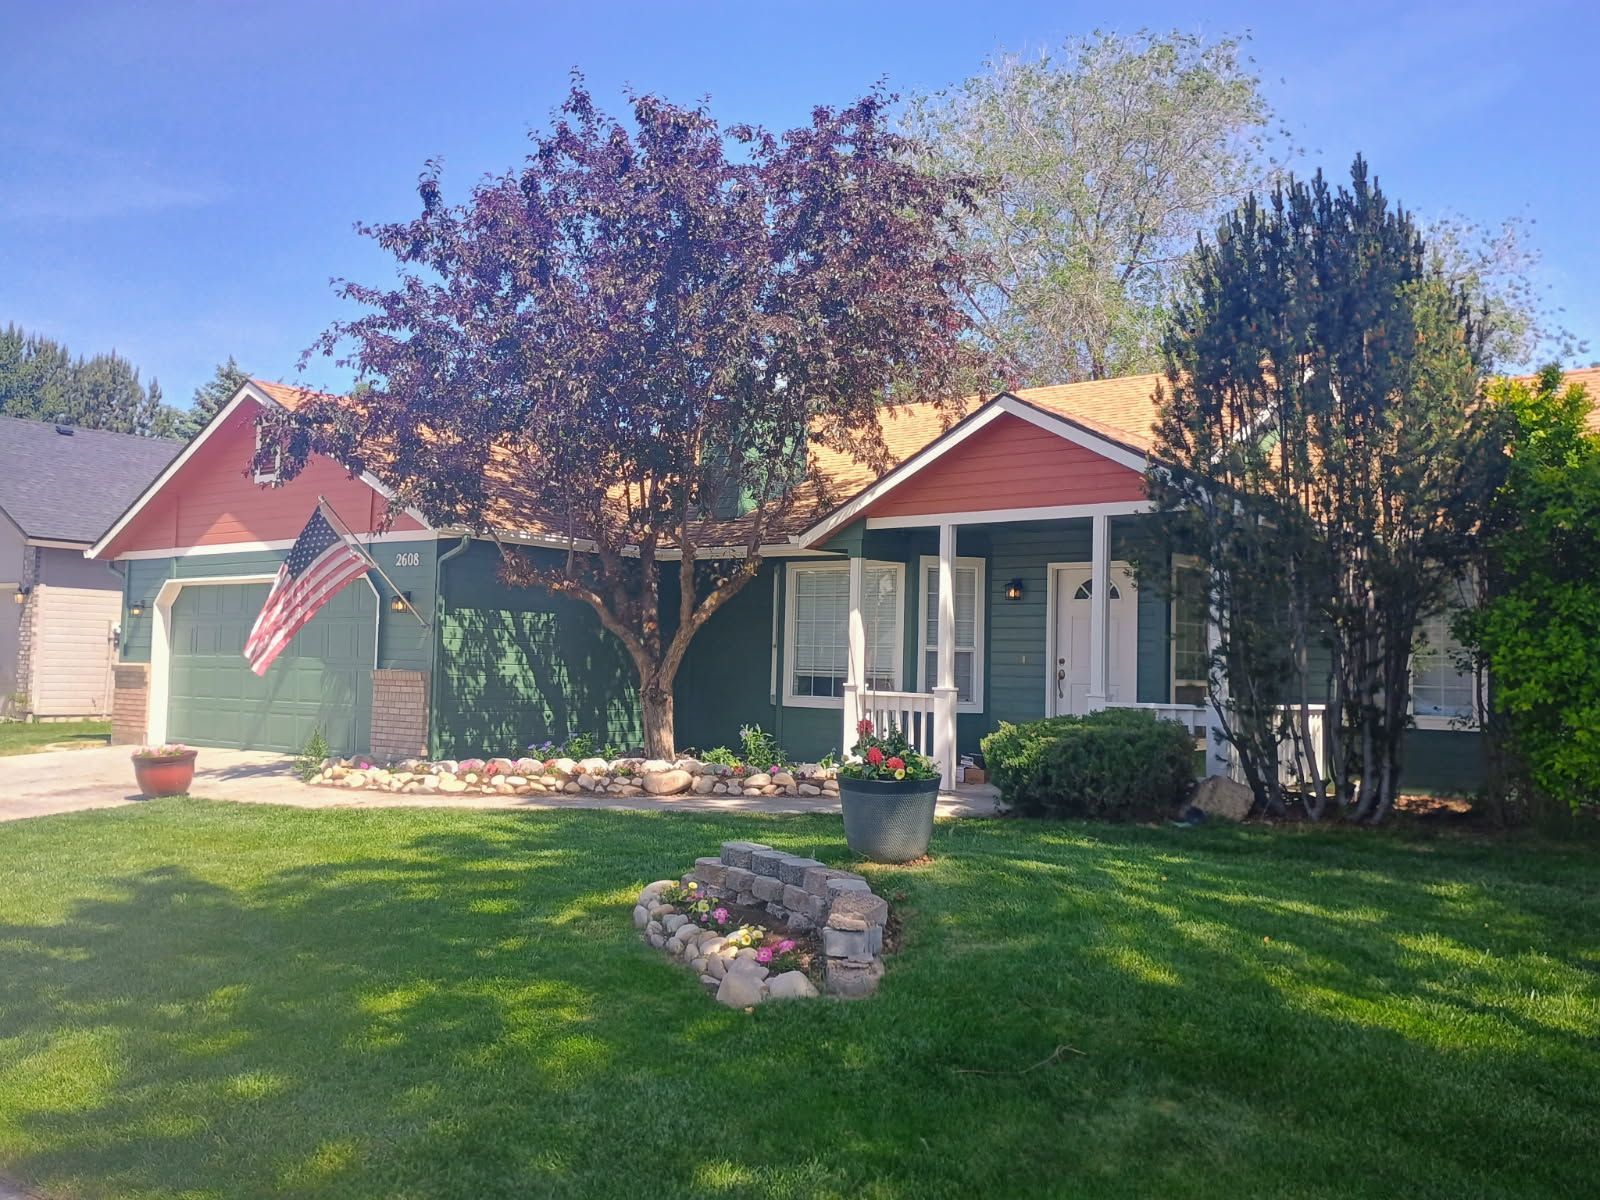
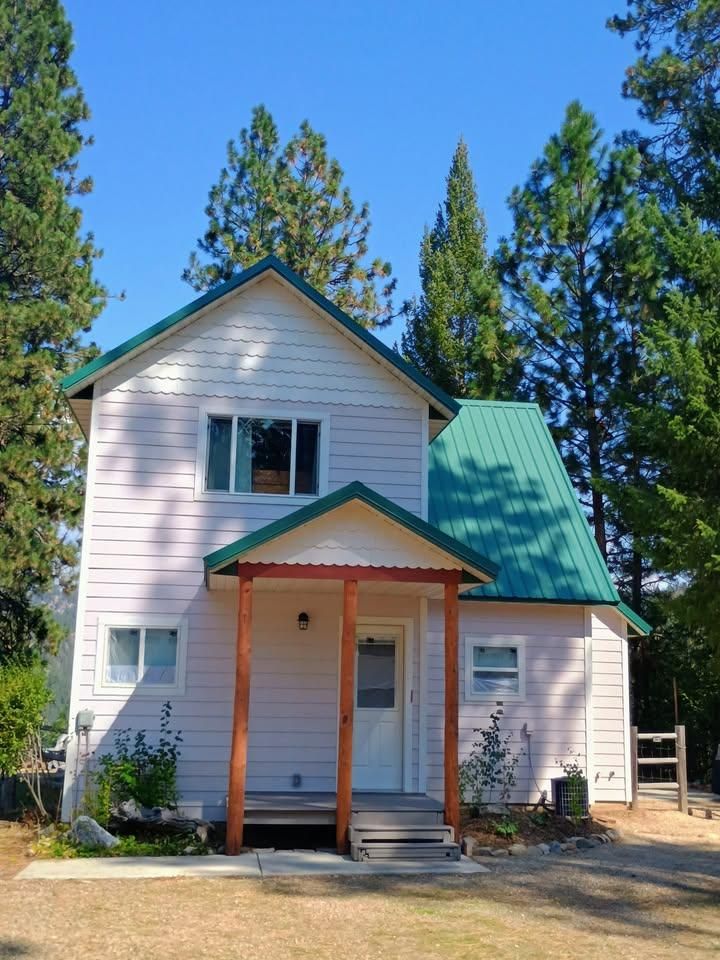
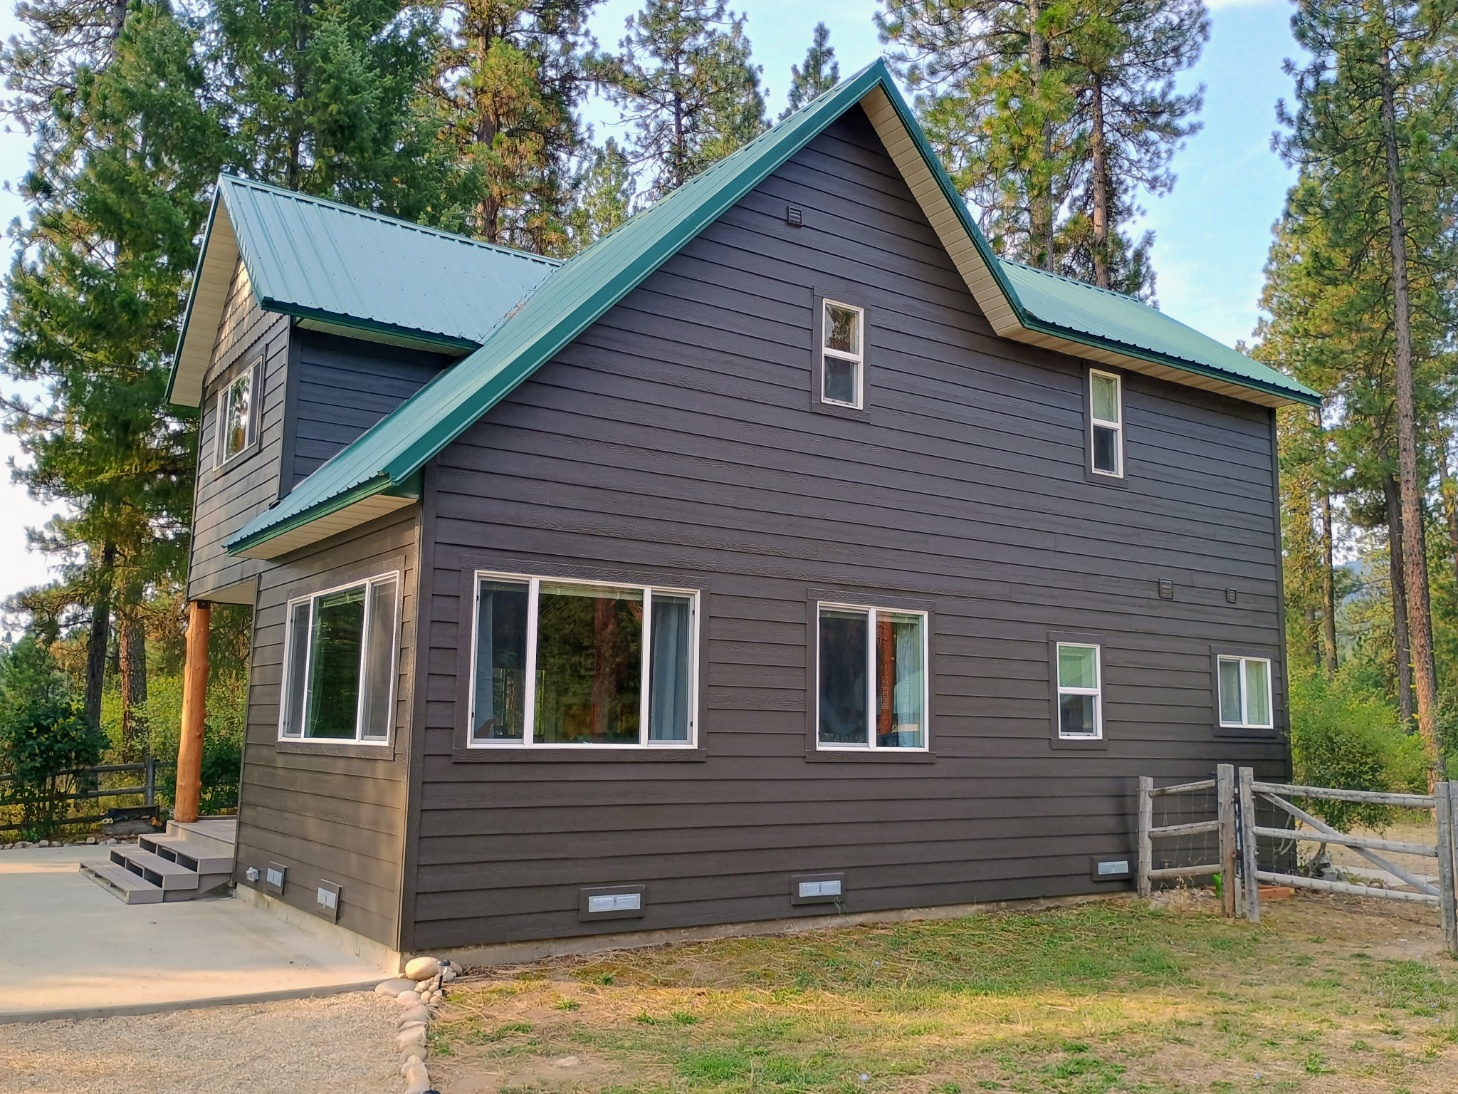
Exterior home painters in Boise, Idaho deliver durable finishes and curb appeal. Hire trusted local experts for long-lasting results. Get a free quote today.
Cabinet Painting Boise by trusted local experts. Refresh your kitchen with affordable refinishing services from Scotty's Painting LLC. Request a free estimate today.

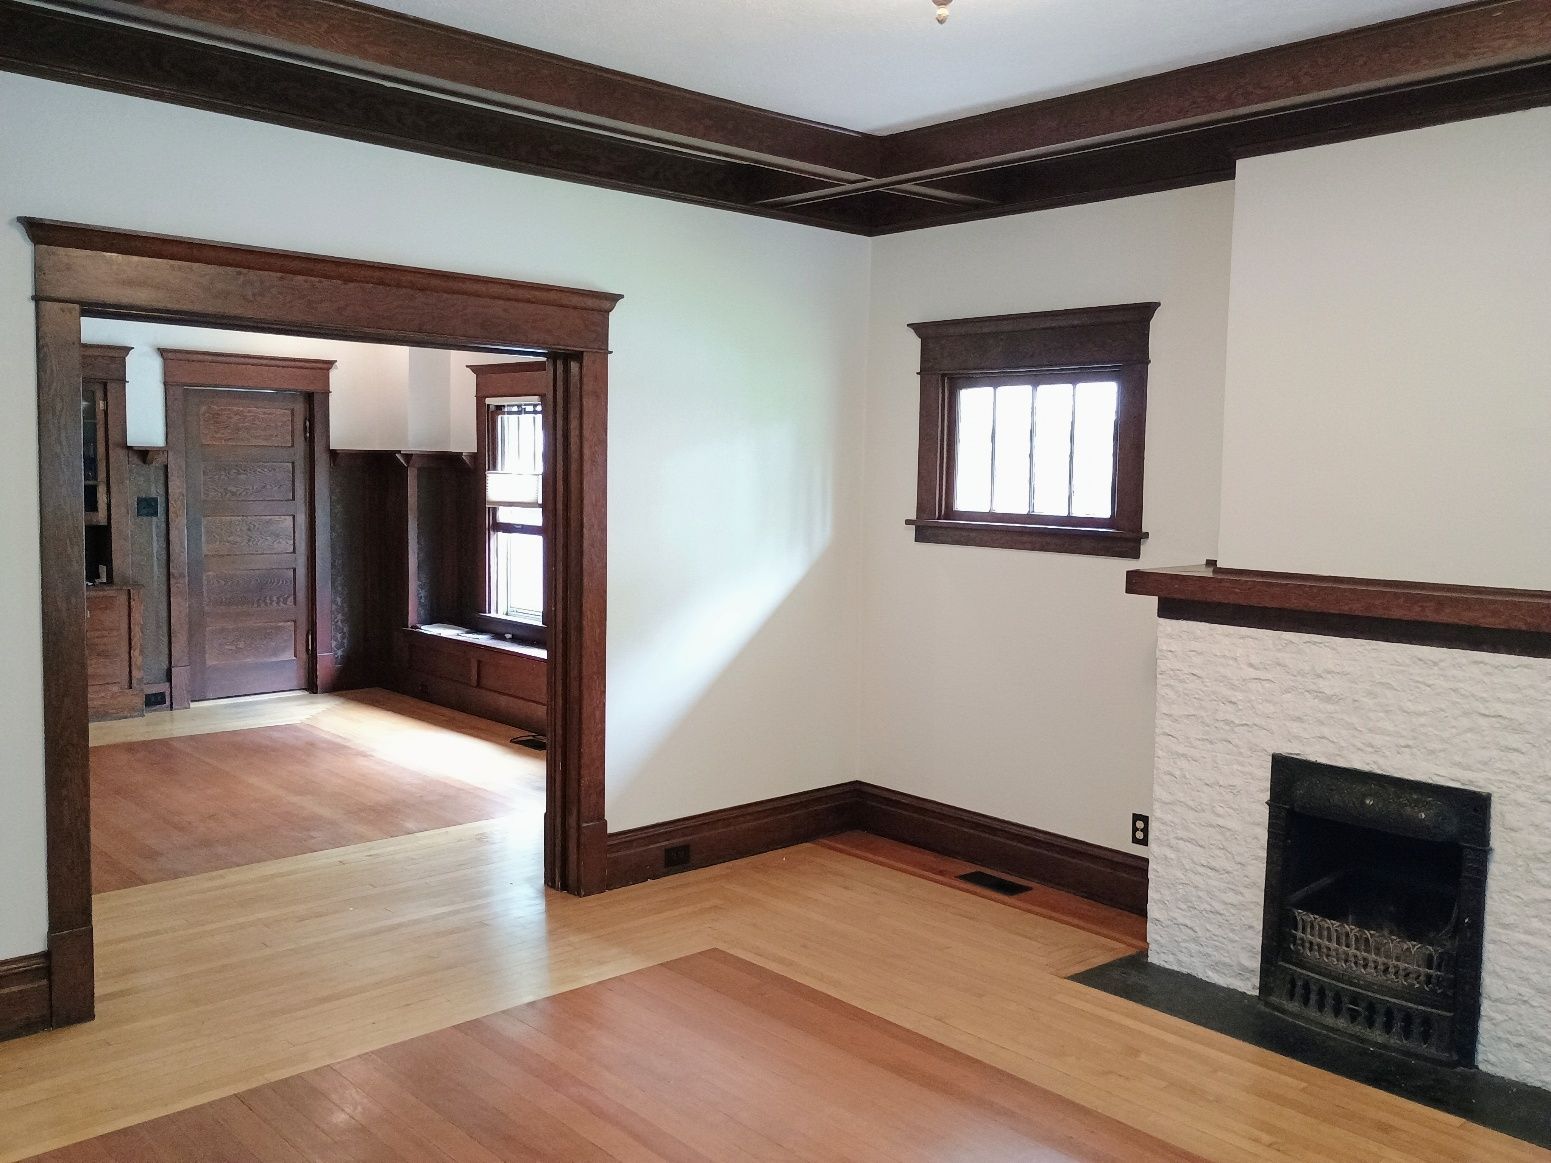
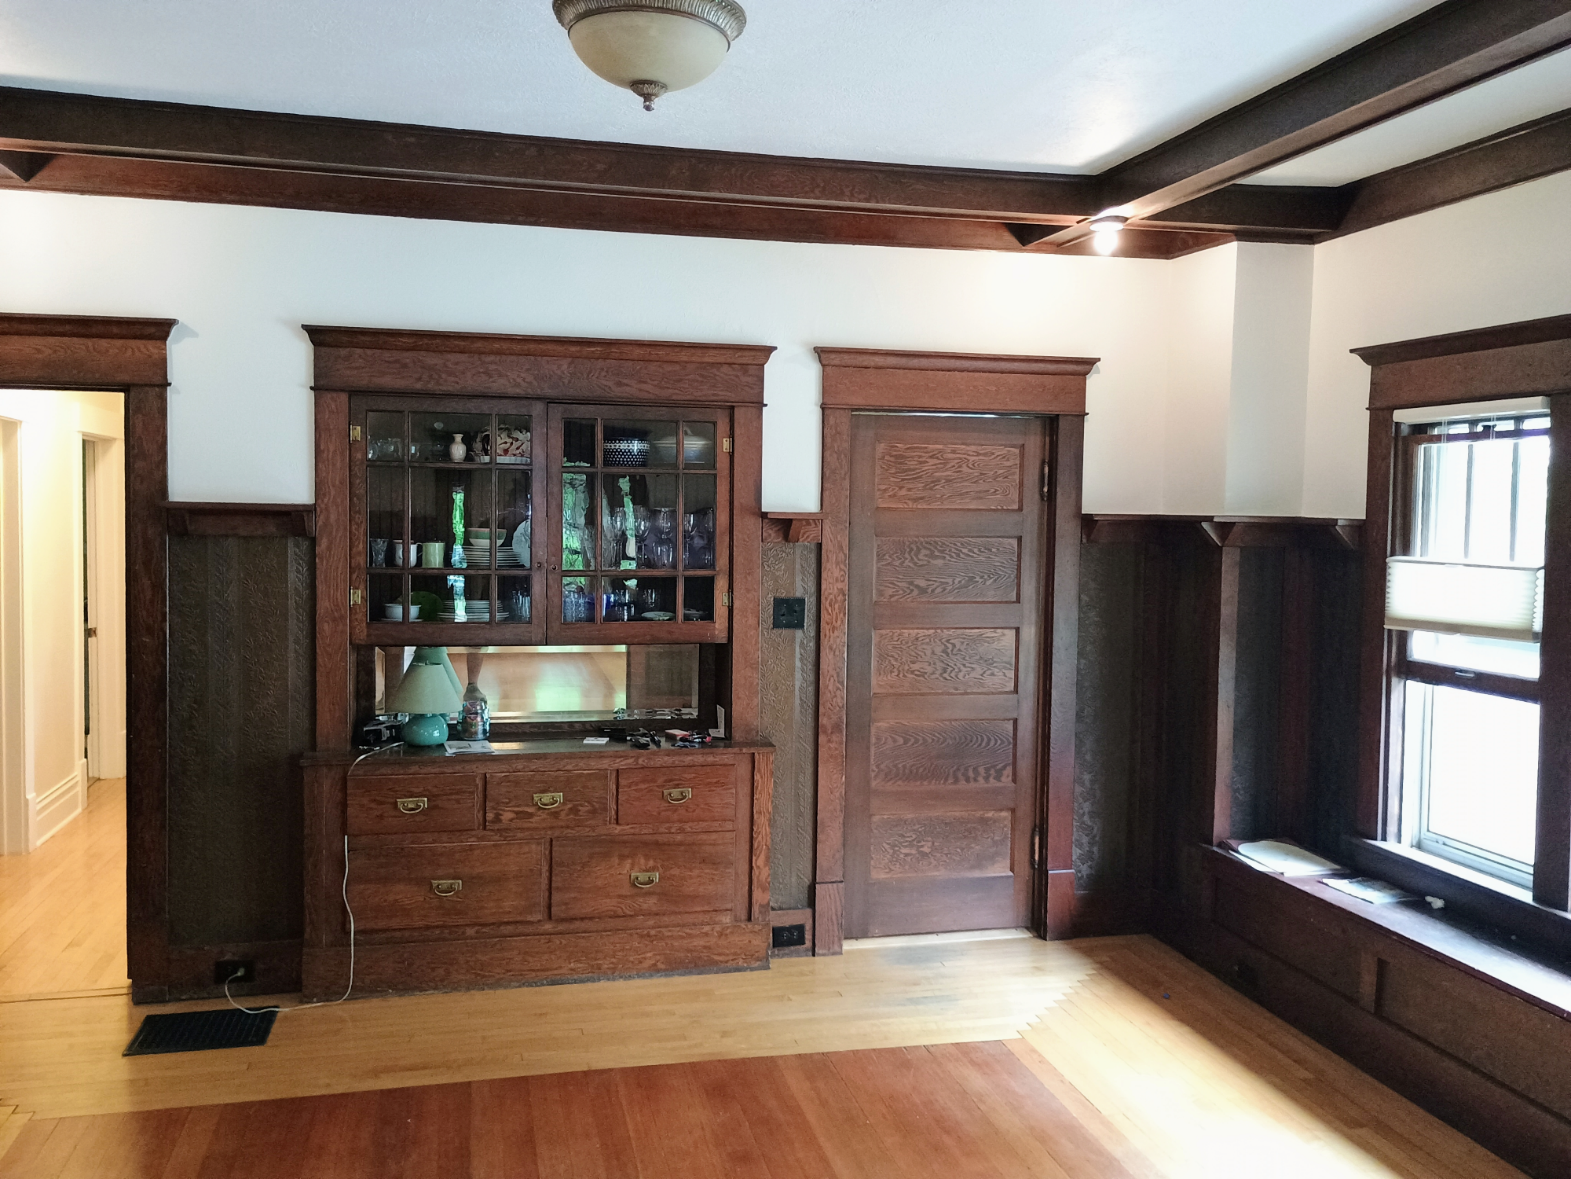
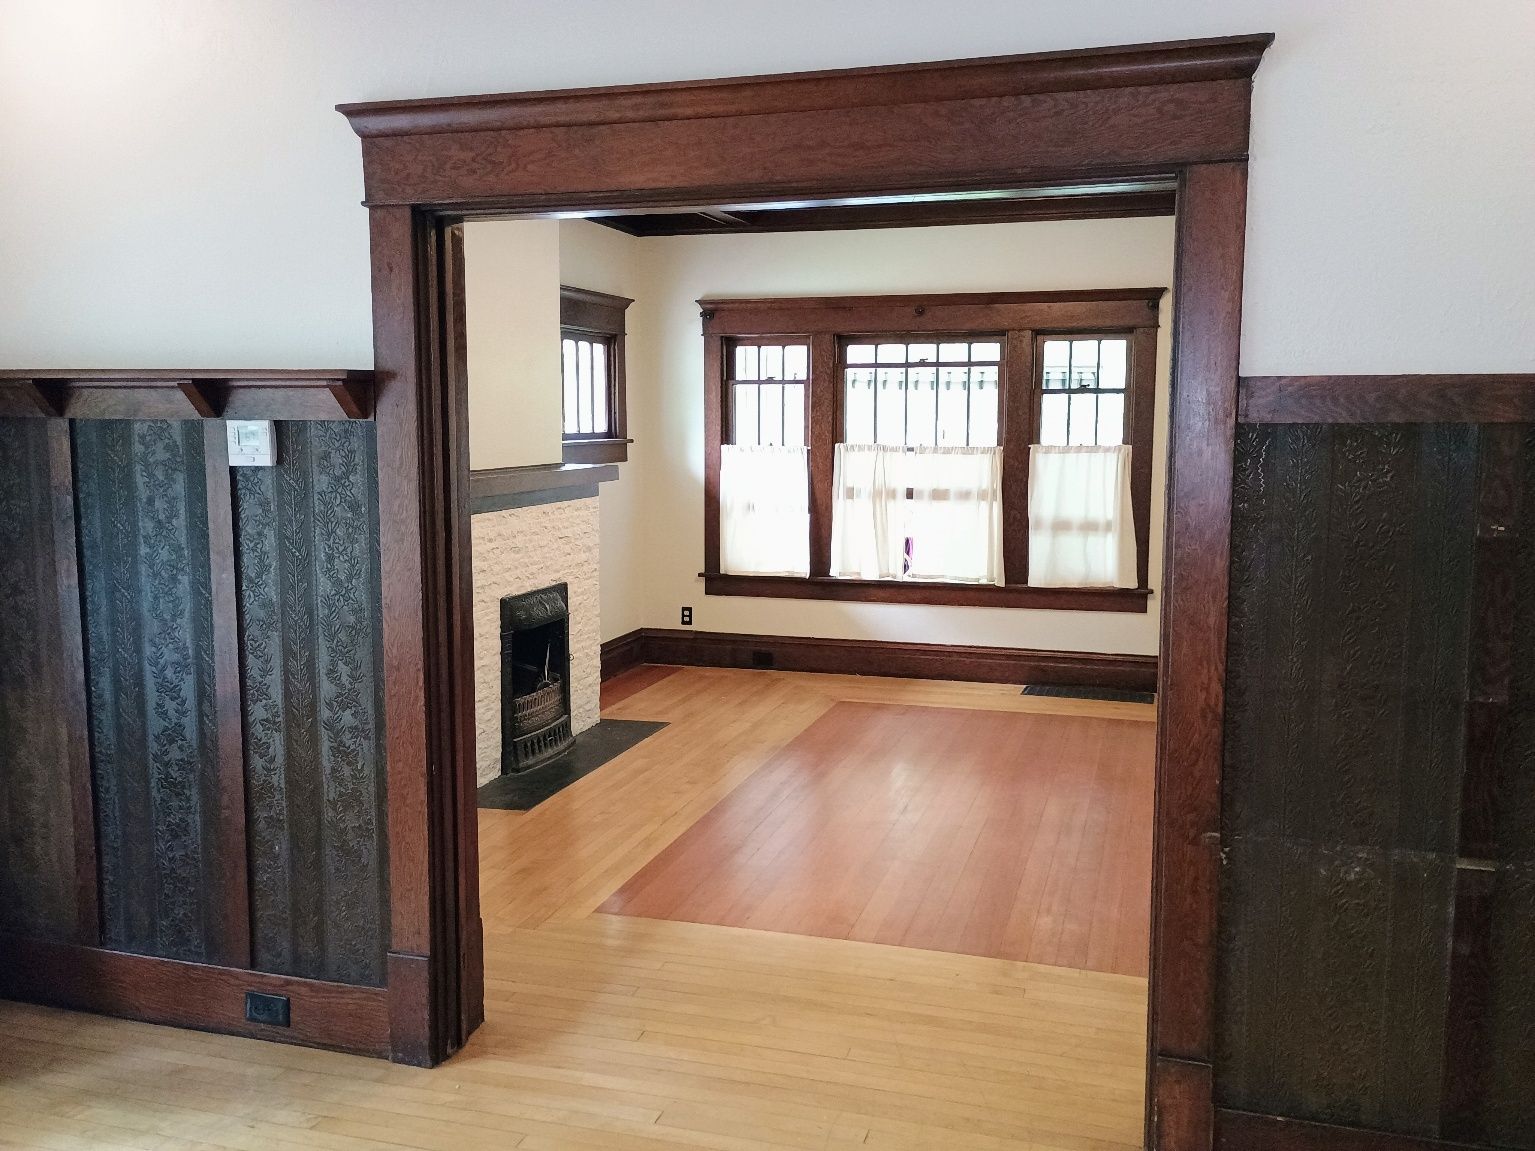
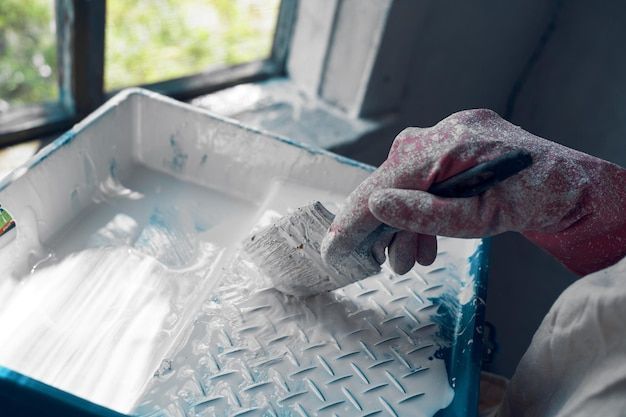
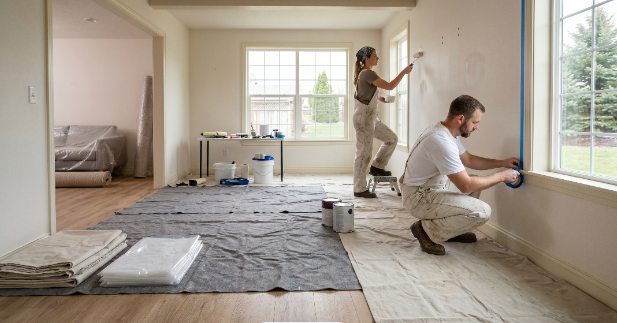
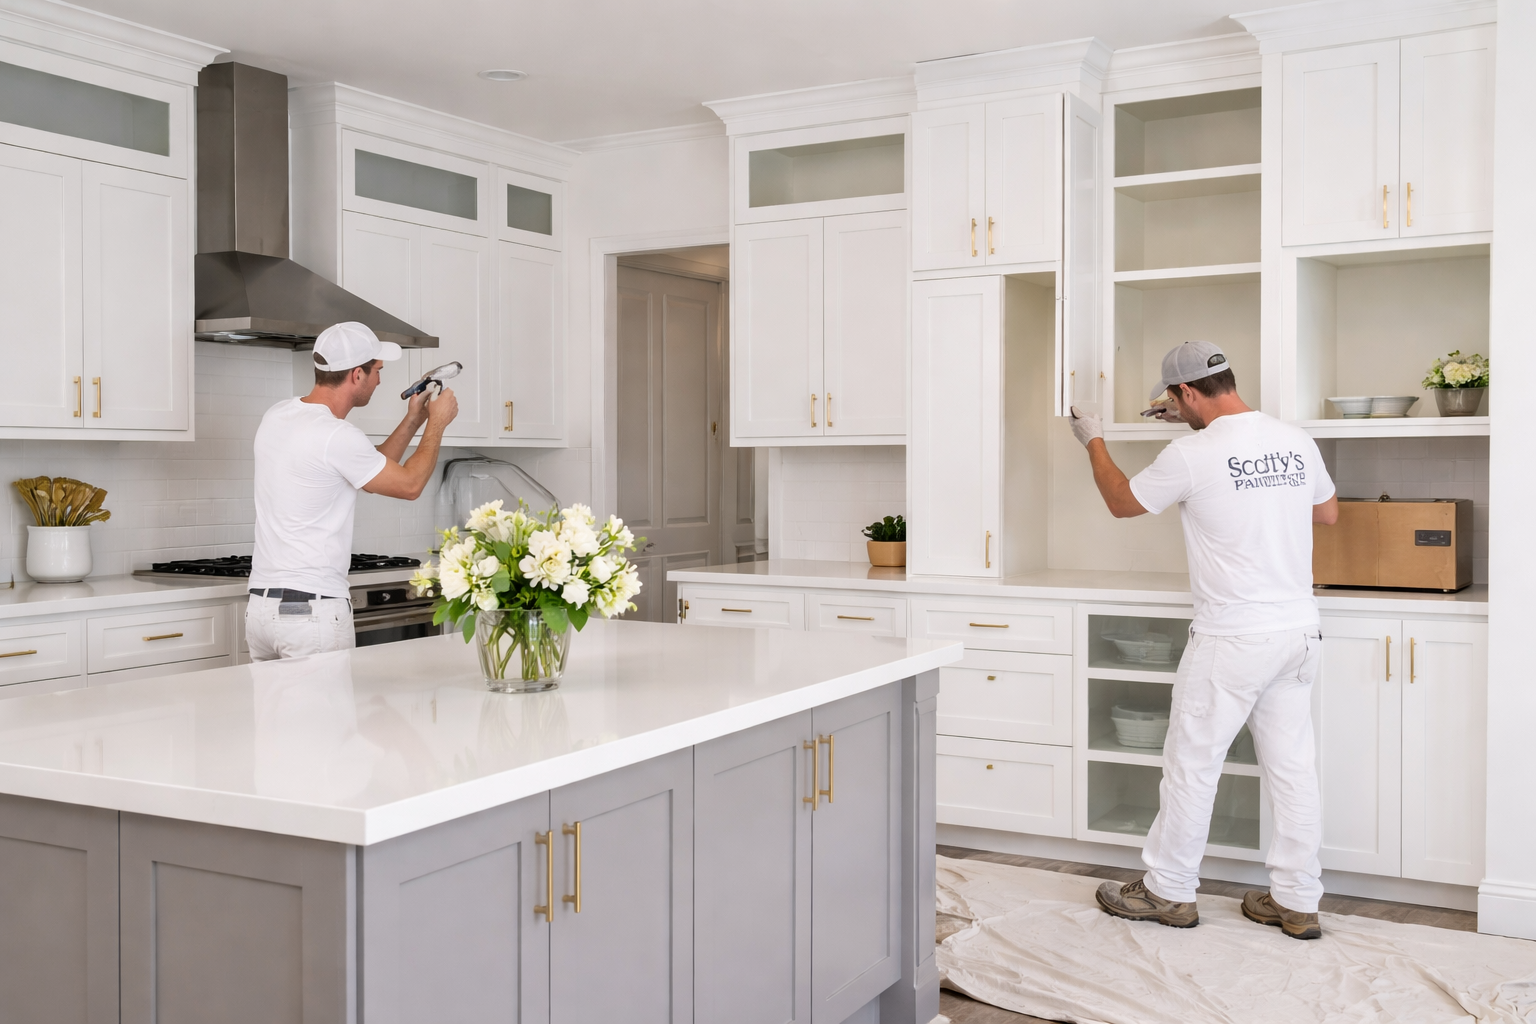
A fresh coat of paint does more than update color—it changes how your home feels. Residential interior painting services in Boise help homeowners refresh spaces, increase comfort, and add long-term value without major renovations. At Scotty’s Painting LLC , we help Boise homeowners turn dated interiors into clean, modern, and welcoming spaces using proven painting techniques and premium materials. What Makes Professional Residential Interior Painting Worth It? Professional painting delivers results DIY projects often miss. With expert painters, you get: Smooth, even coverage Clean lines with no splatter Proper surface preparation Long-lasting finishes Minimal disruption to your home Boise homeowners choose professional painters to avoid peeling paint, uneven walls, and costly redo work. How Do Residential Interior Painting Services Improve Your Home? Can Interior Painting Increase Home Value? Yes. Fresh paint improves buyer appeal and can increase perceived home value by 3–5% , according to real estate staging studies. Does Interior Painting Improve Comfort? Absolutely. Updated colors brighten rooms, improve mood, and make homes feel cleaner and more inviting. Does Paint Protect Your Walls? High-quality interior paint protects walls from moisture, stains, and everyday wear—especially in high-traffic areas. What Services Are Included in Residential Interior Painting? Scotty’s Painting LLC provides: Wall and ceiling painting Trim, doors, and baseboards Cabinet painting Drywall repair and patching Color consultation Whole-home interior painting Internal Links: Interior Painting Services – https://www.scottyspaintingllc.com/services Contact Scotty's Painting LLC – https://www.scottyspaintingllc.com/contact-us Why Hire Local Boise Interior Painters? Before scheduling your project, consider: Room usage and lighting Color preferences Wall condition Timeline Budget expectations A professional consultation ensures a smooth, stress-free experience. How Much Do Residential Interior Painting Services Cost in Boise? Pricing depends on: Room size Surface preparation needs Paint type Project complexity Professional painting saves money long-term by reducing touch-ups and repainting. Why Boise Homeowners Trust Scotty’s Painting LLC Years of local painting experience Skilled and insured professionals High-quality materials Transparent estimates Commitment to customer satisfaction Scotty's Painting LLC has built a reputation as a trusted residential painting company serving Boise and surrounding communities. 📞 Schedule your free interior painting estimate today: Contact Scotty's Painting LLC Maintenance Tips to Keep Your Newly Painted Interior Looking Great After your painting project is complete, here are a few tips to maintain your freshly painted home Clean walls gently with mild soap Address scuffs and marks early Maintain indoor humidity levels Avoid harsh chemicals on painted surfaces Plan touch-ups as needed Service Areas Proudly serving homeowners across: Boise, Idaho Meridian Eagle Nampa Kuna Garden City The entire Treasure Valley region 📞 Get Your Free Estimate Today! Start your interior painting project with the trusted painters at Scotty’s Painting LLC. Contact us now to schedule your free consultation https://www.scottyspaintingllc.com/ Quick Summary Scotty’s Painting LLC offers professional residential interior painting services in Boise, helping homeowners refresh spaces, improve comfort, and boost home value. This guide explains how expert painting delivers smooth finishes, long-lasting protection, and stress-free results compared to DIY projects. Covering services like wall painting, trim work, cabinet painting, and drywall repair, the blog highlights why local Boise painters provide faster service and better results. Homeowners learn what to expect before starting a painting project, cost factors, and how professional interior painting transforms homes across the Treasure Valley. Key Takeaways Interior painting is one of the fastest home upgrades Professional painters deliver longer-lasting results Fresh paint increases home value and comfort Local Boise painters provide better service and reliability Scotty’s Painting LLC offers trusted, high-quality results External Authority Links: U.S. Environmental Protection Agency – Safe Painting Practices https://www.epa.gov/lead/renovation-repair-and-painting-program FREQUENTLY ASKED QUESTIONS:

Choosing just any painter can turn your home improvement project into a hassle you didn’t expect. When you pick a trustworthy painting partner, the whole process feels different—smoother, clearer, and more rewarding. In Boise, ID, finding local painting services that stand by their word and care about your home means you get quality work plus support for veterans and law enforcement. Let’s explore why the right partner changes everything—and how Scotty’s Painting LLC makes that happen. For more on the benefits of hiring a professional, check out this resource . Importance of a Trustworthy Painting Partner
Picking the right paint finish can make or break your home's look—and many Boise homeowners get it wrong. Choosing finishes for Boise homes isn’t just about color; it’s about durability, style, and how each surface will hold up over time. This paint finish guide will help you spot the best paint finish for home walls, cabinets, or siding so your next project looks flawless and lasts longer. Understanding Paint Finish Selection
Most painting companies focus on adding color to homes—but Scotty's Painting LLC is doing something different in Boise. They offer free painting services Boise seniors can count on, brightening homes and spirits without costing a dime. This community painting initiative in Boise shows how a local business can give back while delivering top-quality craftsmanship. Stick around to learn how Scotty’s Painting is making a real difference and how you can join in. Join the effort. Scotty's Painting Mission
Most homeowners ignore exterior paint maintenance until stains or damage become impossible to miss. Dirt, mold, and mildew quietly eat away at your paint's integrity, dulling your home curb appeal without warning. This post reveals simple cleaning exterior paint tips you can use year-round to keep your home looking fresh and protect your investment before problems start. Practical Cleaning Techniques

Enhance Your Home's Curb Appeal with Professional Staining from Scotty's Painting Most homeowners underestimate how much a fresh stain can boost curb appeal while shielding their home from damage. When you trust Scotty's Painting for home staining, you gain more than just color—you get expert care tailored to your home's materials and climate. This blog breaks down the benefits of professional staining, from protecting your exterior surfaces to simple maintenance tips that keep your home looking sharp year after year. The Value of Professional Home Staining Protection That Lasts When it comes to home staining, the difference between DIY and professional application is significant. Professional painters from Scotty's Painting bring years of experience to your project, ensuring that every surface receives the right treatment for maximum protection and visual appeal. Professional staining does more than just change the color of your exterior surfaces - it creates a protective barrier against moisture, UV rays, and other environmental factors that can cause damage over time. Our team selects products specifically formulated for your home's materials and local climate conditions. Beyond Beauty: Functional Benefits The benefits of professional staining extend far beyond appearance. A properly applied stain penetrates wood fibers to: · Block moisture that leads to rot and decay · Prevent mildew and fungal growth · Reduce sun damage and color fading · Minimize cracking and warping · Extend the life of wooden surfaces These protective qualities make professional staining a smart investment that pays dividends through reduced maintenance costs and fewer repairs. Our Professional Approach to Home Staining Preparation Makes Perfect At Scotty's Painting, we believe that thorough preparation is essential for outstanding results. Before applying any stain, our team: 1. Cleans all surfaces thoroughly 2. Repairs damaged areas 3. Sands rough spots 4. Tests stain samples for color accuracy 5. Protects surrounding areas from overspray This careful preparation ensures that the stain adheres properly and provides uniform coverage across all exterior surfaces. Expert Application Techniques Our professional painters use specialized staining techniques that guarantee even application and optimal absorption. Unlike paint, which sits on the surface, stain must penetrate the material for lasting protection. We apply stains using methods appropriate for your specific surfaces: · Brush application for detailed areas · Spraying for large, flat surfaces · Back-brushing to work stain into the material · Multiple thin coats rather than single thick layers These staining techniques result in a finish that enhances the natural beauty of your home while providing superior protection. The Curb Appeal Advantage Professional staining dramatically improves your home's appearance, creating a fresh, well-maintained look that stands out in your neighborhood. Whether you're planning to sell or simply want to enjoy your property more, enhanced curb appeal delivers real value. Our customers consistently report receiving compliments from neighbors after we complete a staining project. As one recent customer testimonial states: "After Scotty's Painting stained our cedar siding, our home looks brand new again. The color is exactly what we wanted, and the finish is flawless." Maintaining Your Newly Stained Home To maximize the lifespan of your professional staining job, follow these home maintenance tips: · Wash exterior surfaces gently once a year · Inspect for damage after severe weather · Touch up small areas as needed · Schedule periodic professional evaluations · Plan for reapplication every 3-5 years With proper care, your professional staining can maintain its beauty and protection for years to come. Interior Durability: Staining Beyond the Exterior While exterior staining offers obvious benefits, don't overlook interior surfaces. Professional staining of interior wood elements like: · Cabinets · Trim · Doors · Hardwood floors These provide similar benefits in terms of protection and visual appeal. Interior durability is enhanced through professional staining, with the added benefit of easier cleaning and maintenance. Partner with Scotty's Painting for Expert Staining When you choose Scotty's Painting for your home staining project, you're selecting a team that values quality, durability, and customer satisfaction. Our professional painters take pride in creating results that protect your investment while making your home look its best. Ready to transform your home with professional staining? Contact us today at www.scottyspaintingllc.com/contact-us for a free consultation and quote. Benefits of Professional Staining Professional
